REVIEW · WINDHOEK
5-Day Sossusvlei & Sandwich Harbour Photography Tour
Book on Viator →Operated by People Tours and Safari cc · Bookable on Viator
One planet, one route, zero dull moments. This 5-day photo-focused trip strings together Namib-Naukluft giants, coastal birds, and the sand-sea drama of Sandwich Harbour. You’ll move from red dunes that glow like embers to German-leaning seaside life in Swakopmund, then back to Windhoek.
I love how much is packed in, yet nothing feels rushed. The private format (max 8 people) means you’re not stuck with a one-size-fits-all group pace, and your guide can help you time dunes and stops for better light. I also like that the tour is built for real photography: Big Daddy, Dune 45, Cape Cross seals, and dunes dropping into the ocean aren’t “nice views.” They’re subjects.
The main thing to consider is physical and altitude effort. Interior Namibia sits high (expect around 6,600 ft before dune climbing), and when you start climbing dunes you can feel it go up closer to about 7,000 ft. Bring water, take breath breaks, and don’t treat dune climbs like a stroll.
In This Review
- Quick hits: what makes this tour special
- Day 1: Windhoek pick-up, Solitaire tea, then Sossusvlei’s red giant hour
- Day 1’s best moments: Big Daddy and Deadvlei (and how not to fight your legs)
- Day 2: Star dune views at Dune 45, then Sesriem Canyon’s quieter drama
- Day 3: Crossing to Walvis Bay—birds, salt works, and a dinner that keeps it real
- Day 4: Cape Cross seals, Swakopmund free time, and Sandwich Harbour’s dunes into the sea
- Day 5: Okahandja crafts, marble and gold mines, and drop-off around 14:30
- Price and value: what $2,023.50 buys (and what it doesn’t)
- Who this tour suits (and who might want a different pace)
- Photo tips that match this exact route
- Should you book this tour?
- FAQ
- How long is the tour?
- Where does the tour start?
- What’s the group size?
- What is included in the price?
- What meals are included?
- What isn’t included?
- Are pickup and mobile tickets provided?
- Is the tour suitable for most travelers?
- What if weather is poor?
- What is the cancellation window?
Quick hits: what makes this tour special
- Big Daddy and Dune 45 climbing time, with views that actually reward the effort
- Sossusvlei + Deadvlei: red dunes against a stark white clay pan with ancient-looking trees
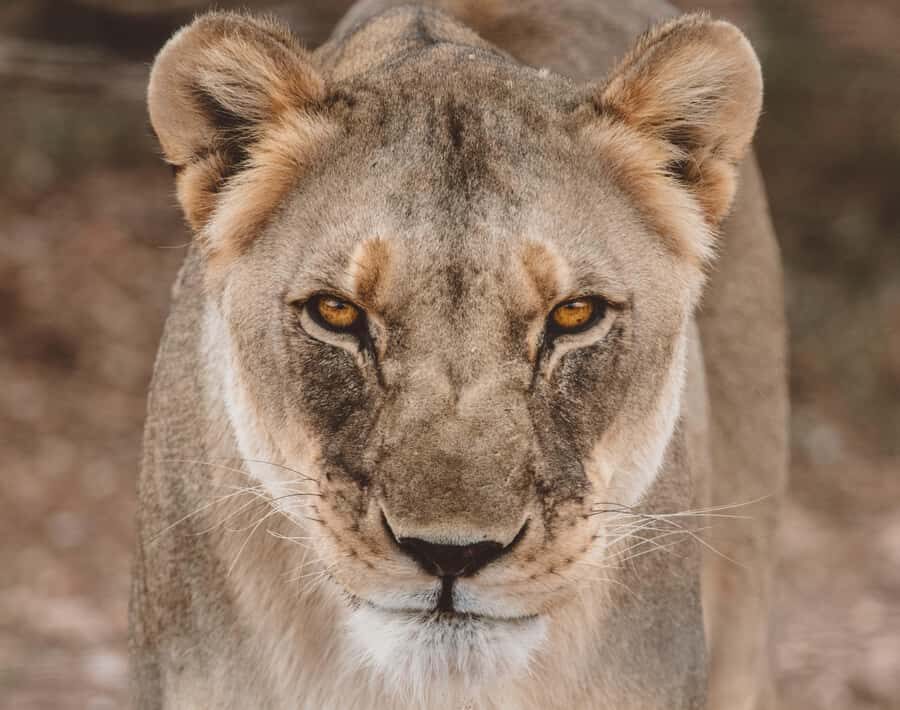
- Cape Cross fur seals up close at a massive, wild colony
- Sandwich Harbour at Walvis Bay Waterfront: dunes meeting the sea, plus salt pans and birdlife
- Private group size (max 8) for easier pacing and more room to shoot
- Guides with real momentum (names you may see include Luke, Philip, Leonard, Saki, and Timothée)
Day 1: Windhoek pick-up, Solitaire tea, then Sossusvlei’s red giant hour
You start with pick-up in Windhoek between 08:00 and 08:30, then you’re rolling through mountain passes as the terrain changes fast. The route heads over the Eros Mountains and the Khomas Hochland Range, which matters because it sets expectations: this is a drive-with-a-view kind of trip, not a hop-on-hop-off parade.
You stop in Solitaire for petrol and possibly afternoon tea, then continue toward your lodge with an aim to arrive early afternoon. That timing is smart. It gives you enough daylight later in the day to start feeling Sossusvlei’s scale without burning the whole afternoon.
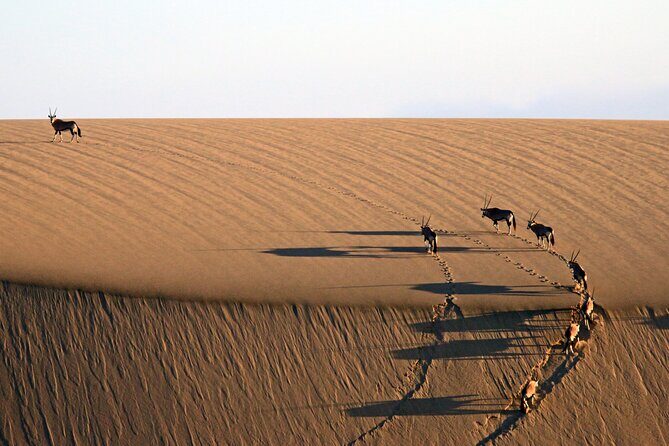
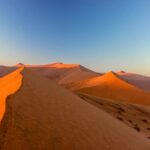
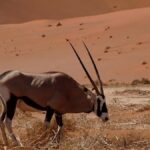
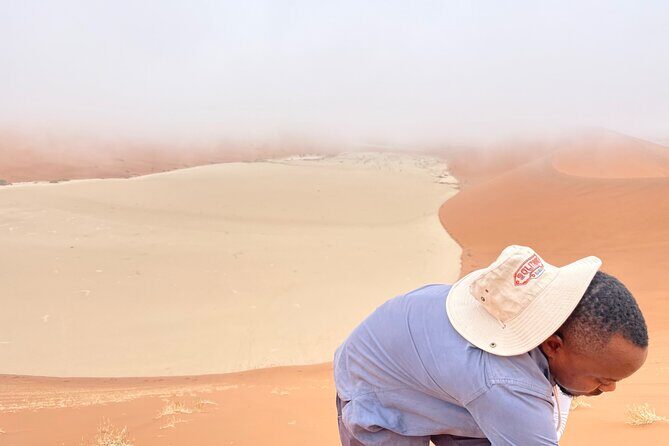
Sossusvlei sits inside Namib-Naukluft National Park, and the iconic dunes here can reach almost 400 meters. In practice, that means long, steep ridges, big shadows, and serious perspective changes as you walk. You’ll also see desert wildlife—oryx, springbok, ostrich, plus reptiles if conditions are right. If you want Deadvlei specifically, you’re in the right place: you’ll be near the white clay pan where ancient trees stand out against the stark ground.
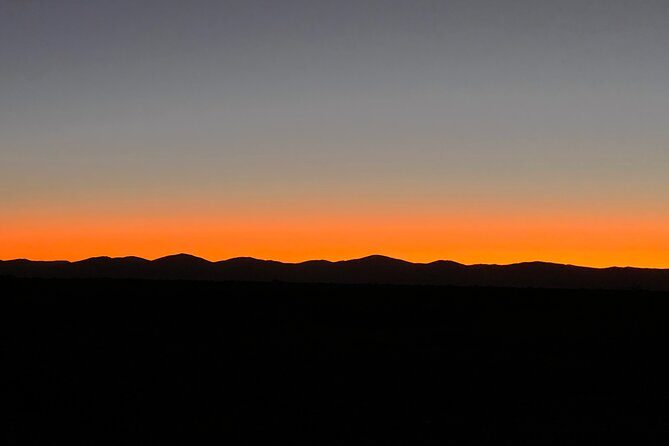
Photo note: plan for morning/evening light. The dunes “wake up” when the sun angle changes, and this trip’s schedule gives you chances to catch that glow.
You can also read our reviews of more tours and experiences in Windhoek.
Day 1’s best moments: Big Daddy and Deadvlei (and how not to fight your legs)
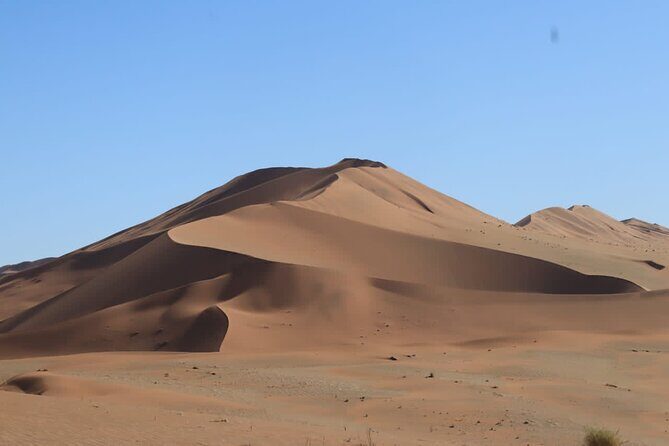
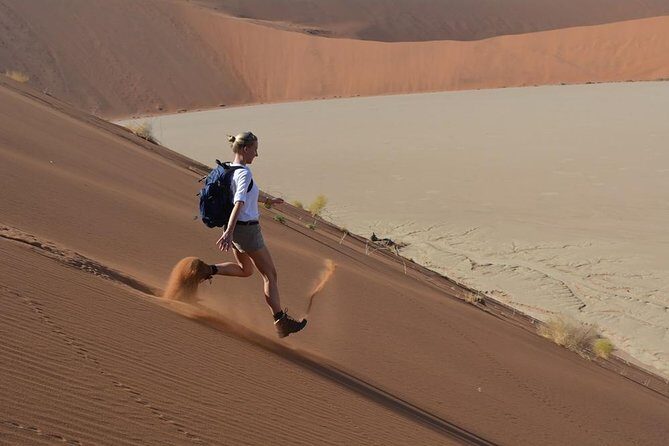
Sossusvlei is not just scenery; it’s a workout with a reward. If you climb Big Daddy, you’re chasing some of the best top-down views in the area. You’ll feel the altitude more than you expect, especially because interior Namibia is high even before you start climbing. Take it slow. Short steps. Water between stops. Let your breathing catch up.
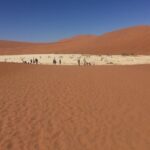
Deadvlei is the other “must-see” area. The contrast is the whole point: white clay pan, ancient-looking trees, and the red dunes rising behind it under a deep blue sky. Even if you’re not obsessed with photography, it’s one of those places where your brain goes quiet.
The only drawback on Day 1 is that you’ll want to do everything, which can tempt you into overexertion. If you feel winded, skip the extra climb and save energy for the next dune and canyon day.
Day 2: Star dune views at Dune 45, then Sesriem Canyon’s quieter drama
Day 2 keeps the energy going with two Sossusvlei-region highlights.
First up: Dune 45. This is a “star dune,” meaning its shape creates those symmetrical, photogenic lines that people travel for. It reaches over 170 meters. If you climb it, the views can be breathtaking—wide desert geometry, layered dunes, and that classic Namib red gradient. If you don’t climb, you can still frame it from lower areas, but you’ll miss the height perspective.
Then you head to Sesriem Canyon, which gives you a change of pace. It’s not all vertical dunes; here you get a canyon cut into the sandscape, with dramatic views from the path and time to slow down. The schedule allows about 3 hours, which is long enough to enjoy the canyon without constantly rushing back to the vehicle.
This day is also where planning your photo gear pays off. Expect wind at times, and expect you’ll be switching between wide shots (whole dune shapes) and tighter compositions (textures in sand, lines of ridges, and shadow edges).
Small practical tip: pack light for your climbs. You can carry a camera and water, but you don’t want to feel like you’re hiking a gear store.
Day 3: Crossing to Walvis Bay—birds, salt works, and a dinner that keeps it real
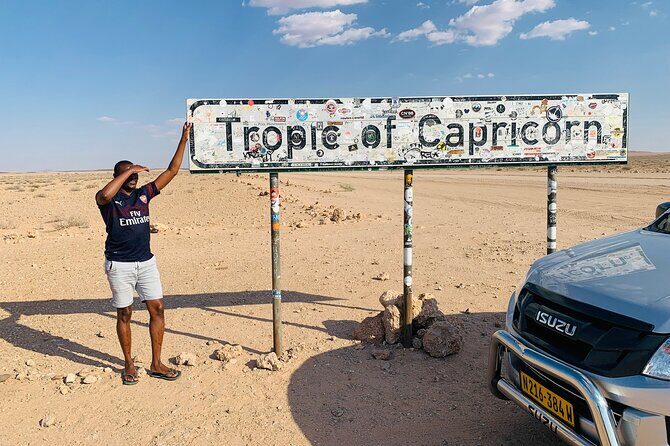
On Day 3, you swap desert dunes for sea birds and coastal air. The drive crosses the Tropic of Capricorn and goes via the Gaub and Kuiseb passes, then you climb out of the dry river bed at the bottom of Kuiseb Canyon. That transition is part of why this tour feels complete: you see Namibia’s “contrasts” in a single day, not over many weeks.
You stop in Walvis Bay for about 45 minutes. The idea here is simple: flamingos and other birds in the lagoon, plus a visit to the salt works. It’s a different kind of photography—less about red dunes and more about movement, reflections, and bird timing.
Dinner is included at a local restaurant, and you overnight at a hotel. That overnight matters because it means you’re not driving all night. You’ll wake up with enough energy to enjoy Cape Cross and then free time in Swakopmund on Day 4.
The only caution: once you reach the coast, weather can change. Bring layers. Coastal air can feel cooler even when the desert is hot.
Day 4: Cape Cross seals, Swakopmund free time, and Sandwich Harbour’s dunes into the sea
Day 4 starts with Cape Cross, north of Swakopmund, and it’s a big wildlife hit. You’ll visit the vast seal colony and get close to thousands of wild Cape fur seals in their natural environment. This stop is built for awe. The scale is the headline, but the details matter too: you’ll see seals packed along the shoreline, and you’ll be watching their behavior more than posing for photos.
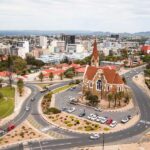
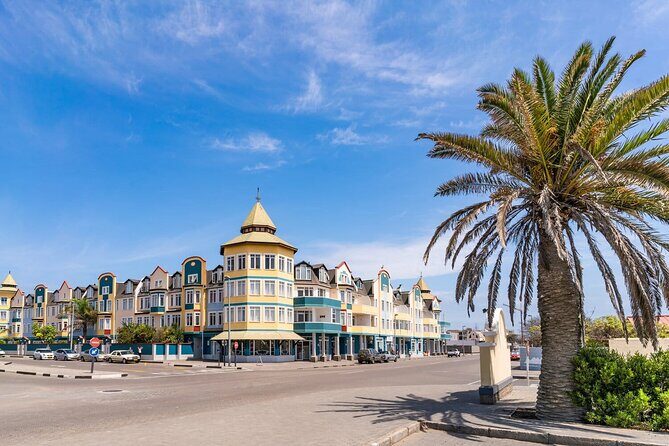
After that, you head toward Swakopmund—a seaside town with German colonial architecture, palm-lined streets, restaurants, shops, and beaches. The rest of the day is yours to explore. This is the part I appreciate most: you can match the pace to your mood. Want museums and a relaxed stroll? Go for it. Want extra activities? There are options.
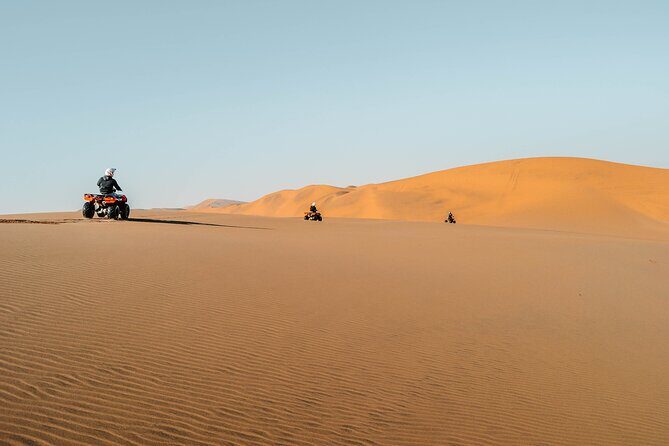
Optional activities you can arrange include a boat tour with oysters and champagne, scenic flights or micro-light flights over the desert, fishing trips (from beach or boat), quad-biking in the desert, sandboarding, and more.
Then you return to the Walvis Bay Waterfront area for the photo-focused capstone: Sandwich Harbour. This is where the dunes actually plunge into the sea, creating one of Namibia’s most dramatic “sand meets water” scenes. You’ll also have rich birdlife, including flamingos and pelicans, plus chances to spot wildlife along the shoreline like seals and jackals.
The tour also notes 4×4 excursions on towering dunes, plus guided attention to geology and ecosystems. And there’s a cultural thread too: you’ll learn the history/significance of Sandwich Harbour as a historical fishing spot. If you care about context as much as visuals, this helps.
Practical note: if you’re doing dune shooting in bright sun and then heading to the waterline, your eyes will need a reset. Sunglasses help. So does knowing where shade is when you’re waiting for birds to move.
Day 5: Okahandja crafts, marble and gold mines, and drop-off around 14:30
Your final day brings the return drive back to Windhoek. Along the way, you’ll pass marble and gold mines and visit Okahandja, home to Namibia’s largest craft market. It’s also described as an administrative centre of the Herero people, so it’s more than shopping for souvenirs—it’s a place to see how the area expresses craft and identity.
The craft market stop is about 2 hours, and then you’re dropped off at your accommodation in Windhoek just after lunch, around 14:30.
This day is for closing the loop: you’ve seen the extremes—desert and sea, dunes and seals—and you’re finishing with human-made culture you can take home. If you want photos of people and craftsmanship, Day 5 is often the best time because the vibe is calmer than the wildlife stops.
Price and value: what $2,023.50 buys (and what it doesn’t)
This tour costs $2,023.50 per person. For five days, that’s not a budget number. But it also isn’t just “a car with a driver.” The package is set up as a private, small-group experience with accommodation and meals included (with details listed as breakfast four times and dinner three times), plus key sights where admission is included for stops like Namib-Naukluft, Dune 45, Sesriem Canyon, Cape Cross, and Sandwich Harbour/Walvis Bay Waterfront.
Where the value really shows is in logistics:
- You’re not driving long distances without guidance through passes and park areas.
- You’re getting timed stops at the right “types” of places: dunes (light + climb), canyon (time + slow views), seals (morning energy), and coastal birdlife (movement + reflections).
- You’re in a small group—max 8—which makes pacing better when you’re trying to shoot.
What you should plan on paying yourself: personal insurance isn’t included, and the data doesn’t list lunches. So you’ll want to budget for meals beyond breakfast and dinners.
Also worth noting: the tour runs best in good conditions. If weather isn’t cooperating, the schedule can change or get canceled and refunded, so be flexible with travel dates.
Who this tour suits (and who might want a different pace)
This trip is a great match if you’re:
- chasing photogenic subjects (dunes, Deadvlei, seal colony scale, dunes into the sea),
- comfortable with some walking and climbing (Big Daddy and Dune 45 are optional but encouraged),
- okay with early mornings and long driving days in exchange for seeing a lot.
It’s also well-suited to solo travelers who want structure. Private touring with a small group means you can ask questions and get help with timing shots, especially when guides like Luke, Philip, Leonard, Berlinda, Saki, and Timothée are the kind of people who show up as friendly, attentive, and flexible with scheduling.
If you’re not into climbing dunes or you’re very sensitive to altitude, tell the guide on day one. You can still enjoy Sossusvlei and the photo stops without treating every summit like a must-do. The “most travelers can participate” note is helpful, but listen to your body.
Photo tips that match this exact route
This route is so photo-driven that your success comes down to small choices:
- Shoot dunes early and late. Plan your energy for the times the dunes look most dramatic: morning/evening light is where the red stands out and shadows define the ridges.
- Bring a small, climb-friendly setup. Dune climbing plus gear hauling can turn fun into suffering fast.
- For seals at Cape Cross: don’t chase distance. Frame behavior and group density. The colony is huge, so you can move for angle without getting dramatic.
- For flamingos/pelicans and the waterfront: expect waiting. Bird shots reward patience more than fast shutter.
- For Sandwich Harbour: the dunes plunging into the sea is about viewpoint. When you’re on the right spot, even simple compositions look impressive.
And a final practical note: Namibia can be dry and bright. Stay hydrated and protect your eyes and skin. A sunburn is a real way to ruin a “photo vacation.”
Should you book this tour?
If you want a tight five-day route that hits the headliners—Sossusvlei dunes, Deadvlei contrast, Dune 45 climb options, Sesriem Canyon time, Walvis Bay birds, Cape Cross seals, Swakopmund free exploration, and Sandwich Harbour dunes into the sea—then this tour makes sense. The private group size and included guiding help turn these places into experiences you can actually enjoy, not just check off.
I’d book it if:
- you care about photography and want help with timing and viewpoints,
- you’re okay with moderate effort and altitude,
- you like the mix of wildlife, geology, and coastal culture.
I’d skip or adjust expectations if:
- you hate climbing entirely (or you know altitude is a problem for you),
- you want a slow, unstructured trip. This one is active, with real travel days between major stops.
If your dates are flexible and you’re ready for dunes that live up to the hype, you’ll likely come back with both great photos and the feeling that you saw Namibia in a way that actually hangs together.
FAQ
How long is the tour?
It’s a 5-day tour (approximately 5 days).
Where does the tour start?
The start point is Hosea Kutako Intl Airport in Windhoek. The tour also offers pick-up in Windhoek between 08:00 and 08:30.
What’s the group size?
This is described as a private tour with a maximum of 8 travelers.
What is included in the price?
The tour includes accommodation and meals. Breakfast is listed 4 times and dinner is listed 3 times. Several admission tickets are marked as included.
What meals are included?
You get breakfast (4) and dinner (3). Lunch is not listed in the provided inclusions.
What isn’t included?
Personal insurances are not included.
Are pickup and mobile tickets provided?
Yes—pickup is offered, and the tour includes a mobile ticket.
Is the tour suitable for most travelers?
The tour notes that most travelers can participate, but there are options to climb dunes such as Big Daddy and Dune 45.
What if weather is poor?
The experience requires good weather. If it’s canceled due to poor weather, you’ll be offered a different date or a full refund.
What is the cancellation window?
You can cancel for a full refund up to 24 hours in advance of the experience start time. If you cancel less than 24 hours before, the amount paid is not refunded.