REVIEW · WALVIS BAY
Walvis Bay: Pelican Point Seal and Sandwich Harbour Tour
Book on GetYourGuide →Operated by Desert Dunes and Dust Tours · Bookable on GetYourGuide
That first glimpse of the sea-dune edge is addictive. This full-day loop from Swakopmund stitches together Pelican Point seals, Sandwich Harbour scenery, and a desert game drive into one day that stays memorable. You start in town, then watch the coast shift into salt flats and dunes, finishing with a lighthouse stop where the wildlife is close enough to feel real.
What I like most is the way the day gives you real variety without rushing. You get a proper wildlife focus at Pelican Point and Walvis Bay, plus the open, sandy scale of Sandwich Harbour. I also love the timing: lunch happens in the middle of the desert, not in a roadside stop, so you’re eating with dunes and sky around you, and local beverages keep the mood easy.
One consideration: it’s a long sun-heavy day with walking on sand and uneven ground at a couple of points. If you have back issues or mobility limits, the operator notes it isn’t suitable for you, even though the activity is described as wheelchair accessible—so if that applies, check first and ask how your route would work.
In This Review
- Key points at a glance
- Swakopmund to Walvis Bay: the coast-to-desert transition you came for
- Bird Island (Guano Island) and Walvis Bay Flamingo Lagoon
- Pink salt lakes, salt works, and the logic of the shoreline
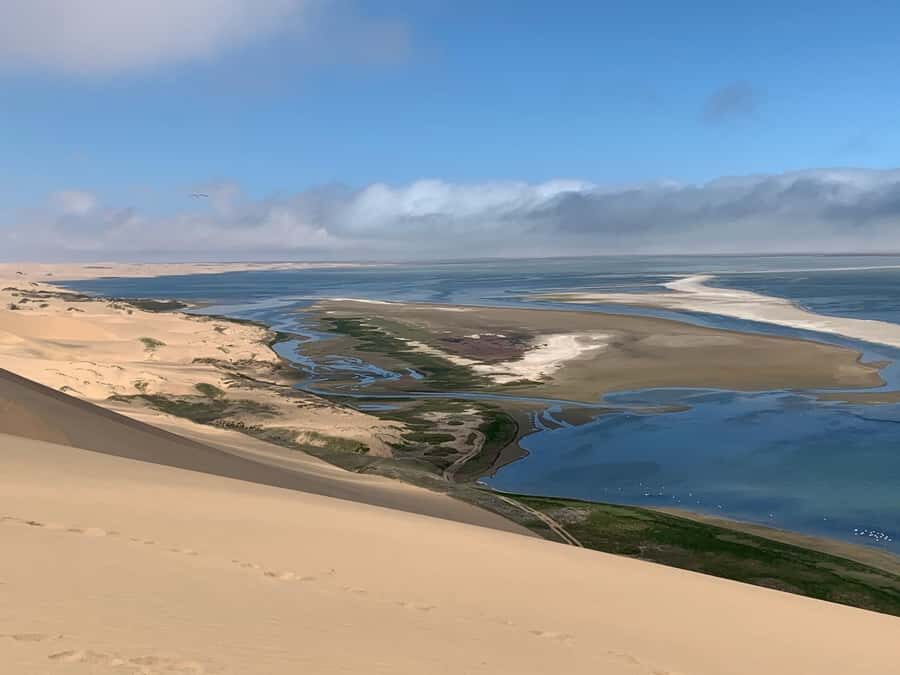
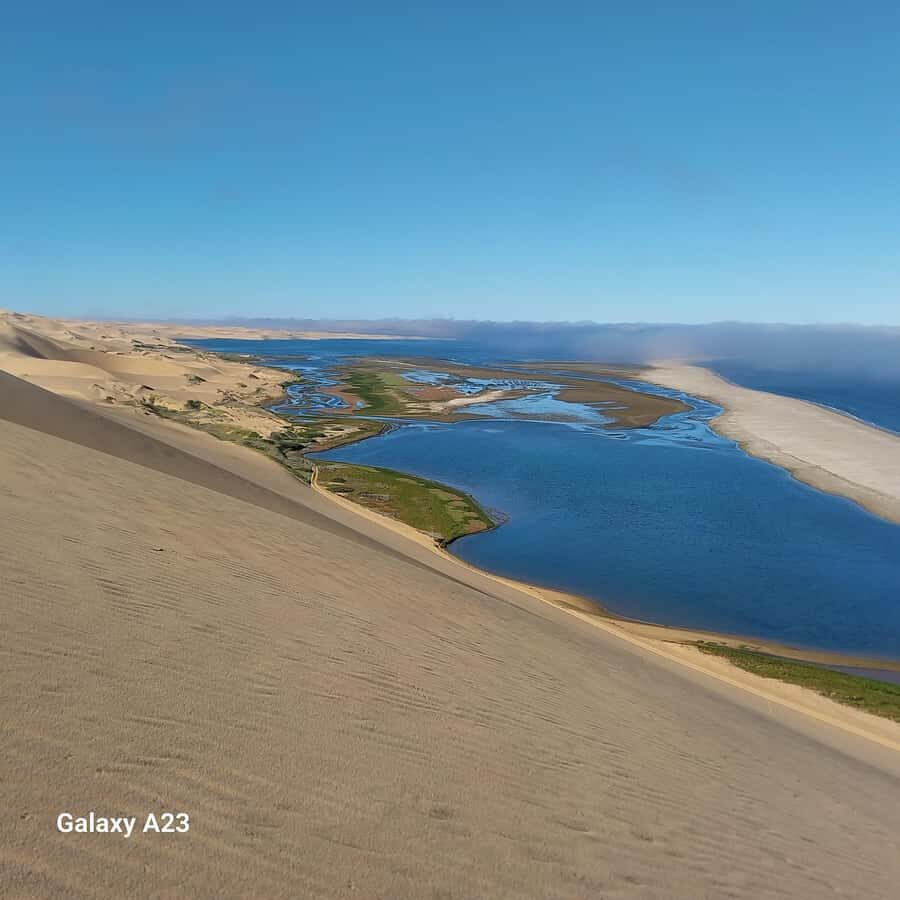
- Sandwich Harbour: scenic drive, short walk, and dune-meets-sea views
- !Nara Valley game drive: oryx, ostrich, and springbok in tiny greenery
- Light lunch above the dunes: why the timing feels right
- Pelican Point Lighthouse and the friendly seals
- Price and value: what $193 covers in a long day
- Who should book this tour, and who should think twice
- Should you book the Pelican Point and Sandwich Harbour day?
- FAQ
- How long is the Pelican Point Seal and Sandwich Harbour tour?
- Where does the tour start and end?
- What’s included in the price?
- Do I get lunch on the tour?
- Where do you see seals?
- What animals might I see during the day?
- Is there walking involved?
- What should I bring?
- What’s the weather like for the tour?
- Is it refundable if I cancel?
Key points at a glance
- Pelican Point seals up close on the beach and in shallow waves
- Sandwich Harbour scenery with a scenic drive and a short walk/photo stop
- Desert lunch with local beverages set above the dunes
- Walvis Bay bird stops including Bird Island/Guano Island and the Flamingo Lagoon
- !Nara Valley game drive aimed at oryx, ostrich, and springbok
- Small-group feel with strong guides; guides like Volker, Dennis, and Stephan are mentioned for clear information and safe driving
Swakopmund to Walvis Bay: the coast-to-desert transition you came for
You start from Swakopmund and then point the vehicle toward Walvis Bay, with a few planned pauses that help the day flow. There’s a break in Walvis Bay (about 20 minutes) and an Esplanade Park photo stop (about 30 minutes). This is useful if you want to stretch a bit, grab water, and swap lenses before you hit the big nature stops.
The vibe shifts as you go. You’re not just traveling between “attractions.” You’re moving through Namibia’s coastal systems: beaches, lagoons, salt works, and dunes. That matters because the animals and scenery you’ll see next make more sense when you understand the setting. It’s also why the day feels more complete. One hour you’re thinking ocean and birds; later you’re looking at salt pans and dune meets sea.
If you’re the type who likes photos, this is a good day to come prepared. The light can be dramatic around dunes and shoreline, and there are multiple photo stops where you won’t feel like you have to sprint to catch the best view.
You can also read our reviews of more tours and experiences in Walvis Bay.
Bird Island (Guano Island) and Walvis Bay Flamingo Lagoon
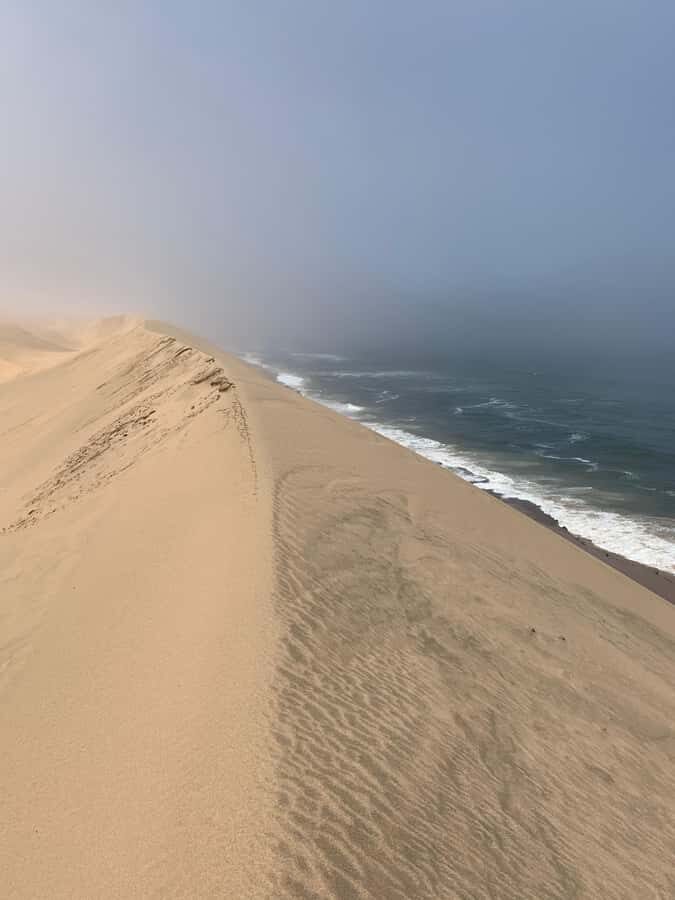
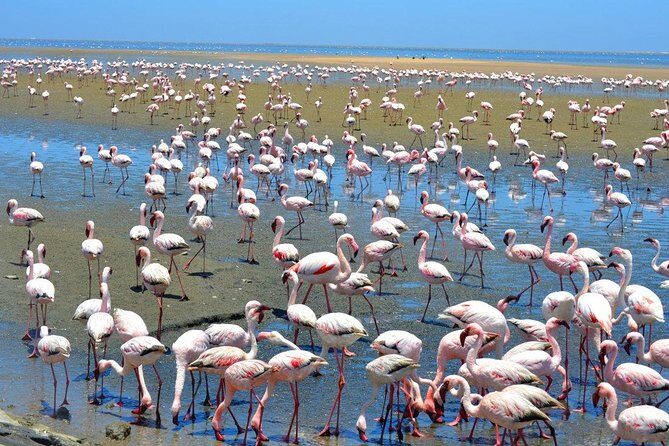
One of the best early-bird lessons comes at Bird Island, also called Guano Island. You’ll stop along the way to Walvis Bay, and this place is known for its dense seabird activity. The scale is the headline here: it can house up to 200,000 cormorants, along with pelicans and flamingos. Even if you only catch part of the action, it’s the kind of number that sticks in your head.
Then you reach the Walvis Bay Flamingo Lagoon, where the guide explains flamingos and their habitat. This is where a “just watching birds” stop becomes more meaningful. Flamingos aren’t only pretty. They’re tied to the lagoon’s conditions and food sources, and learning that helps you notice things you might otherwise miss—like why certain areas look more active than others.
Practical tip: bring your camera and keep it accessible. Bird stops can move fast, and you’ll want to be ready for sudden wingbeats or a quick change in position along the lagoon edge.
Pink salt lakes, salt works, and the logic of the shoreline
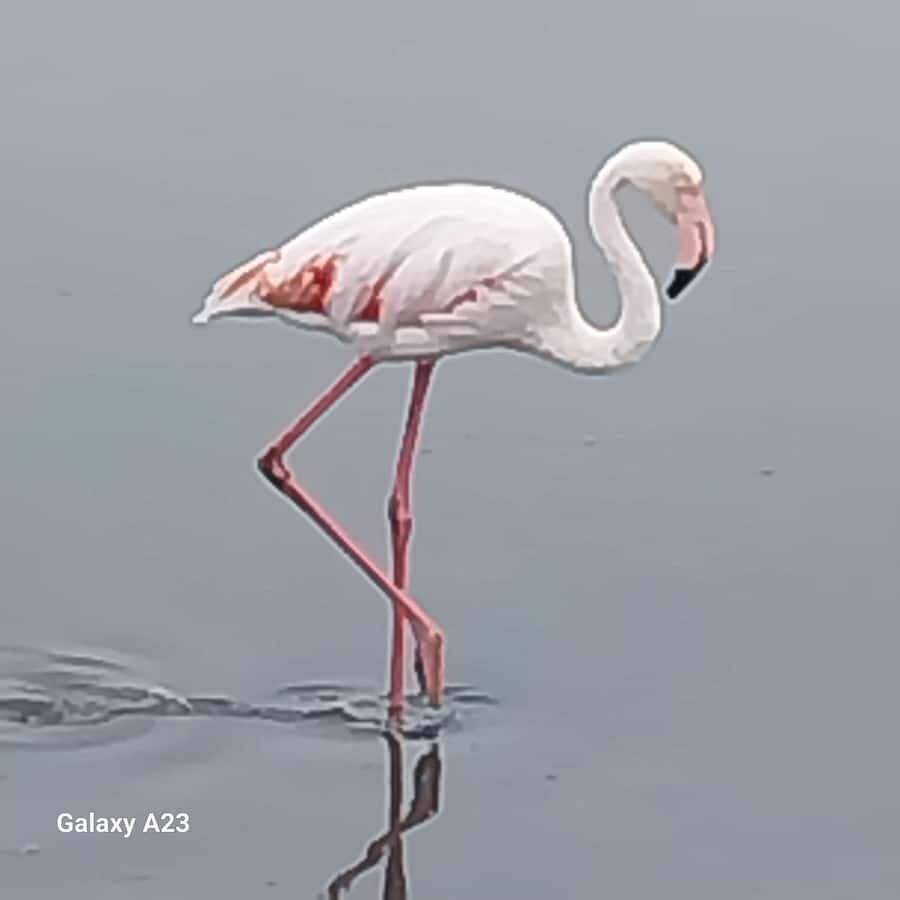
Next you pass some of the big industrial-and-natural features around Walvis Bay: the Salt Works, the Lagoon, and the Pink Salt Lakes. The color is striking, but the real value of these stops is that you see how Namibia’s coast can look almost alien—part nature, part salt process, part desert meeting the sea.
This matters for two reasons. First, it explains the terrain you’ll drive through later. The dunes aren’t random. They’re part of the same overall system where wind, water, and salt work together. Second, it adds variety so the day doesn’t feel like one long “wildlife-only” stretch.
You don’t spend hours here, and that’s fine. The stops are there to set context and give you those wow visuals on route to the main experiences.
Sandwich Harbour: scenic drive, short walk, and dune-meets-sea views
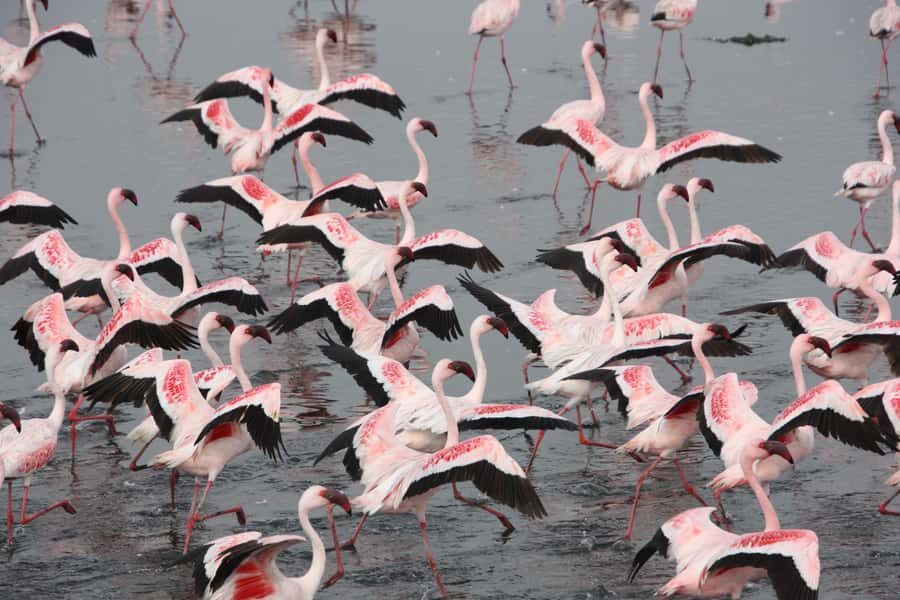
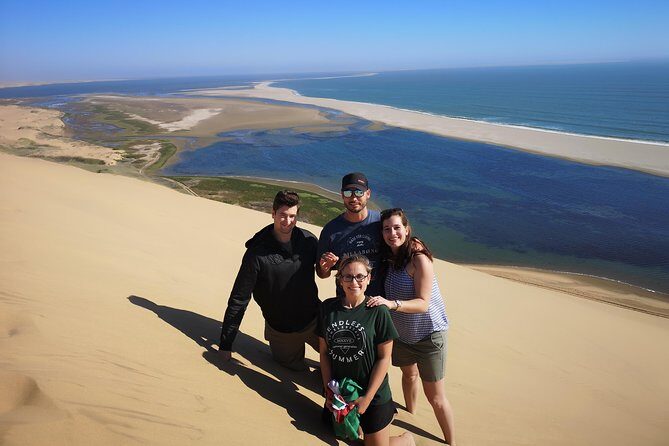
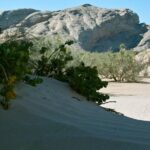
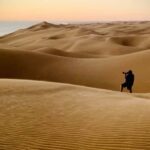
Sandwich Harbour is the day’s scenery centerpiece, and you experience it two ways: a scenic drive for around 2 hours, then a short photo stop and walk (about 30 minutes). The drive is the real art of it. You’re traveling through a place where the terrain itself does the talking—sand, sea edges, and channels that make the coast feel wide and quiet.
The walk is shorter, so don’t think of it as a long hike. It’s a chance to get out, reposition for photos, and soak in the view from a different angle. If you’re comfortable with uneven ground, it’s worth it. If you’re not, stay close to the group and take it slow.
The Sandwich Harbour section also helps break up the day mentally. After Bird Island and lagoon bird time, and before Pelican Point seals, this is where the visuals get cinematic. You’ll get that moment where you stop thinking about the itinerary and start thinking about the horizon.
!Nara Valley game drive: oryx, ostrich, and springbok in tiny greenery
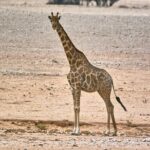
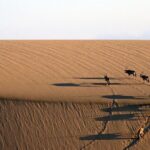
After the Sandwich Harbour portion, the tour moves into a desert game drive through The !Nara Valley. This is the practical safari portion of the day: you’re searching for oryx, ostrich, and springbok, usually among the pockets of low greenery where animals can manage heat and find resources.
What I like about this setup is that it’s not trying to guarantee a zoo-like checklist. It’s about giving you a serious chance to see large wildlife in the environment they’re adapted to. When you’re in a place like this, the animals’ survival strategy is written into their behavior—standing still, moving only when necessary, using shade and the smallest vegetation patches.
A small note from past experiences with this tour: the dune driving style can feel exhilarating, and the guides are known for keeping things steady and safe while still giving you the real dune-drive experience. If you’re sensitive to rough rides, it’s worth mentioning your comfort level to the guide at pickup.
Light lunch above the dunes: why the timing feels right
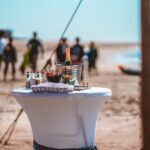
The lunch stop is one of the reasons this tour stands out. You’ll find a lone spot to absorb the tranquility and the vastness of the dunes, then enjoy a light tasty lunch with local beverages. This happens after you’ve done the morning scenery and desert searching, so your energy is already earned.
Food in remote areas isn’t usually about fancy plating. It’s about timing and atmosphere. Eating where the dunes meet wide sky gives you a reset. You stop, breathe, and let the day slow down just enough to feel special.
Then, later at Sandwich Harbour, there’s another food-and-drink moment: beer, spirits, brunch, and dessert for about 40 minutes. That part turns the scenic time into a relaxed social break. If you like having something to look forward to between wildlife stops, this pacing works.
Pack sunscreen and a hat for the lunch portion. Even if the air feels cool, sand and open sky can roast you fast.
Pelican Point Lighthouse and the friendly seals
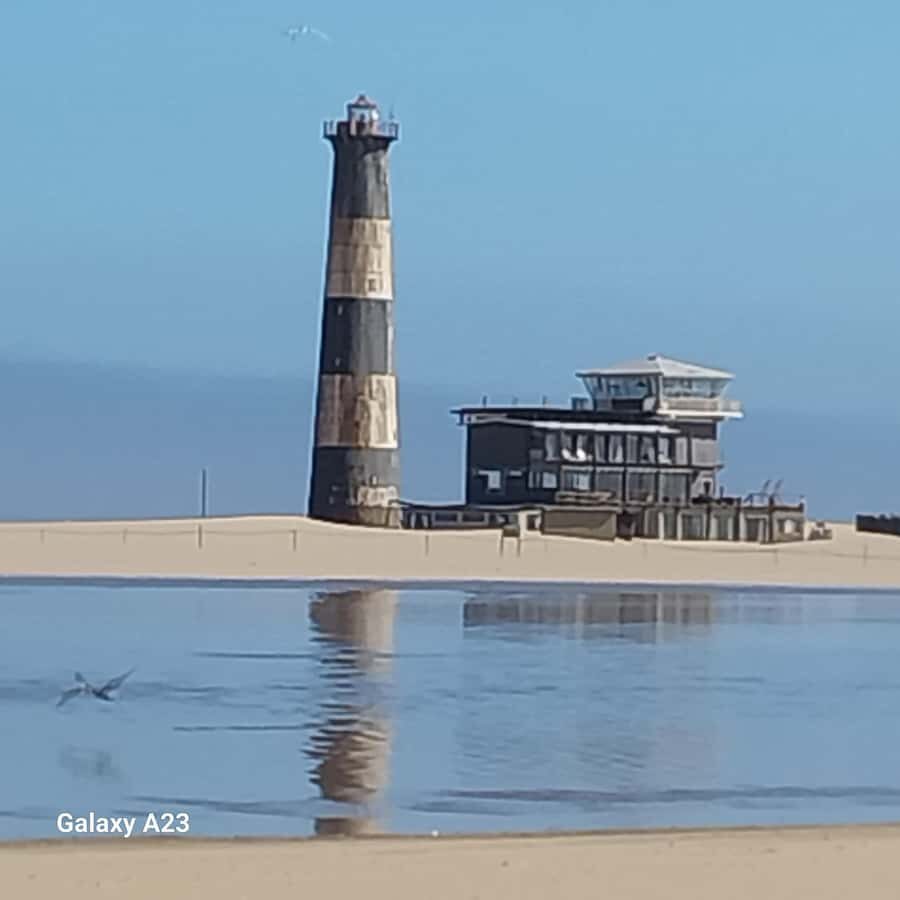
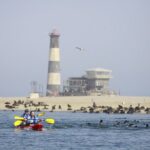
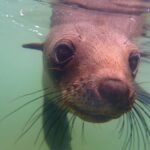
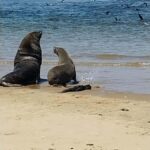
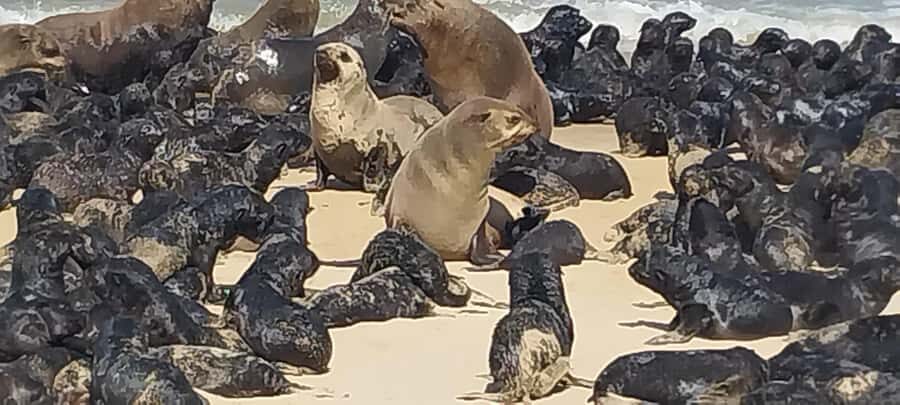
The final wildlife highlight is Pelican Point. You’ll arrive with a Pelican Point photo stop and visit (about 1 hour) focused on wildlife viewing. This is where the story gets warm and close: you can see the Pelican Point Lighthouse and the seals on the beach and even in shallow ocean waves.
This stop is especially good if you like animals that aren’t behind glass. Seal viewing here is about presence—how they move, how they rest, and how the shoreline creates a natural stage. It’s also a strong photo opportunity because the lighthouse adds a fixed point to your shots, and the waterline gives you movement in the frame.
What to expect practically: you’ll likely be standing, shifting your position, and waiting for the seals to come closer or settle. Wear shoes that handle sand. Bring a camera strap so you’re not juggling everything with sun glare.
After Pelican Point, you go back through salt pans along the way you came, and then return to Swakopmund.
Price and value: what $193 covers in a long day
At about $193 per person for a 7-hour day, the value comes from what’s bundled in: pickup and drop-off, park fees, a light lunch, local beverages, a game drive, and guided visits to Bird Island, the Flamingo Lagoon, and Pelican Point.
A lot of tours around this region charge extra for each element, especially when you’re mixing bird stops with desert driving and wildlife viewing. Here, those moving parts are included. That’s why the price can feel fair even though it’s not “cheap.” You’re paying for logistics and access—getting you into the right places and coordinating the timing so you’re not spending half your day traveling empty roads.
If you’re traveling with a smaller group, it’s even better. Past experiences include cases where the vehicle had only three people, which makes it easier to hear the guide and move through stops with less crowd energy.
Who should book this tour, and who should think twice
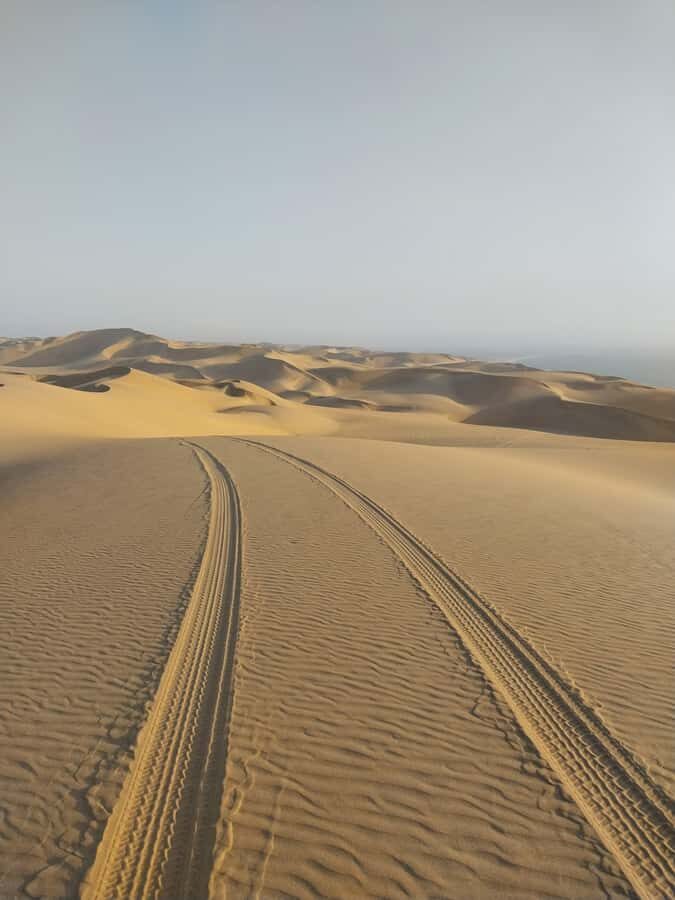
This is a great fit if you want Namibia nature without switching tours mid-trip. You get birds, seals, dunes, and desert wildlife in one day. It’s also a good choice if you like guides who share stories and explain what you’re seeing. Guides connected with this experience include Volker, Dennis, and Stephan, and the common theme in their style is clear guiding and confident, safety-minded driving.
I’d think twice if:
- You’re pregnant or have back problems (not suitable per tour info)
- You have mobility impairments (not suitable per tour info), even though wheelchair access is listed elsewhere—ask hard questions before booking
- You hate heat and long outdoor stretches, since you’ll be in the sun for multiple hours and walking on sand happens
For anyone else: bring a hat and sunscreen, wear comfortable clothes, and plan to stand and walk longer than you might expect from a “photo tour.”
Should you book the Pelican Point and Sandwich Harbour day?
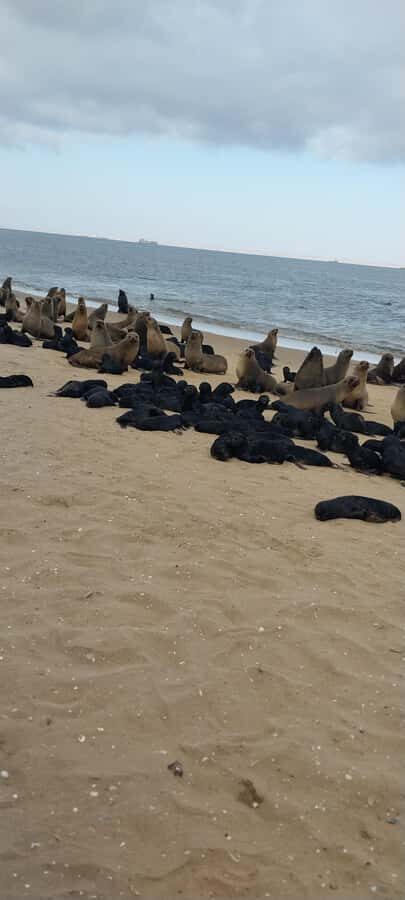
Yes, if your ideal Namibia day includes close wildlife, huge horizons, and dune-and-sea scenery you can’t get from a quick stop. This tour earns its value by stacking the best sections of the Walvis Bay coast and Sandwich Harbour in a single route, with meaningful pauses for bird habitat, seals, and desert calm.
If you’re choosing between options, I’d book this one if you care about:
- Seals at Pelican Point and the lighthouse backdrop
- Bird Island scale and flamingo habitat context
- A real !Nara Valley game drive search for oryx, ostrich, and springbok
- A desert lunch that doesn’t feel like a roadside compromise
If you’re booking for someone with mobility or health constraints, confirm suitability before paying. Otherwise, this is one of those days where you stop measuring time and start collecting moments.
FAQ
How long is the Pelican Point Seal and Sandwich Harbour tour?
The tour lasts about 7 hours.
Where does the tour start and end?
It starts with pickup in Swakopmund and returns you back to Swakopmund.
What’s included in the price?
Pickup and drop-off at your accommodation, park fees, light lunch, local beverages, a game drive, and guided visits to Bird Island, the Walvis Bay Flamingo Lagoon, and Pelican Point.
Do I get lunch on the tour?
Yes. You’ll have a light lunch with local beverages, and there’s also a later brunch, dessert, and alcoholic drinks stop at Sandwich Harbour.
Where do you see seals?
You visit Pelican Point, where you do wildlife viewing on the beach and in shallow ocean waves.
What animals might I see during the day?
You’ll be in areas known for seals at Pelican Point; birds around Bird Island (Guano Island) including cormorants, pelicans, and flamingos; and desert wildlife during the !Nara Valley game drive such as oryx, ostrich, and springbok.
Is there walking involved?
Yes. There’s a short walk during the Sandwich Harbour photo stop and walk, and you should expect walking on sand and uneven terrain.
What should I bring?
Comfortable shoes, a hat, a camera, and sunscreen. Comfortable clothes are also recommended.
What’s the weather like for the tour?
Be prepared for changes in weather conditions, and expect a lot of time outdoors in the sun.
Is it refundable if I cancel?
You can cancel up to 24 hours in advance for a full refund. The experience also lists free cancellation.